Annie Sloan Kitchen Cabinets in Country Grey
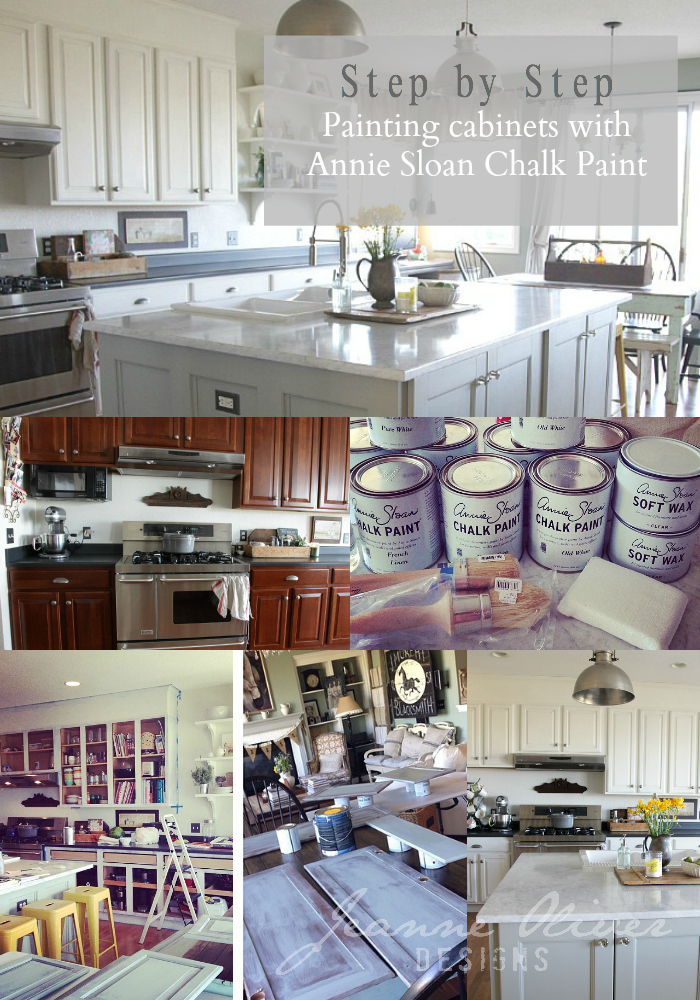
One of the questions I get asked the most is regarding how I painted our kitchen cabinets and what do I think of Annie Sloan Chalk Paint.
I have waited until now to share my opinion because I thought we needed to really live with the cabinets to see how they wore with daily use and to give me time to give an honest opinion.
Before we start let me be honest that if I had contacted many people to come and give us quotes to paint the cabinets. I have the worst track record of getting contractors to either show up or get back to me with quotes. I did NOT want to do this job. Not even kidding. I really tried to find someone else but I didn't have any luck and that is when I decided that the only way I could do this was by using Annie Sloan Chalk Paint (ASCP).
The reason I had the guts to undertake such a huge project was because with ASCP I wouldn't have to sand all of the cabinets. Maybe a silly reason but it was the one thing that really helped me to feel like I could do this.
I am a hugely externally motivated person and the main reason I had the motivation to FINALLY get this project started was because Fifi O'Neill and her crew were coming to photograph our home for different magazines. They were arriving just days before I was leaving last summer to teach in Italy and I had some huge time constraints to get this job done.
Before we started the project we first met up with the owners of Shades of Amber and they gave us private lessons to put both Kelly and me at ease. They gave us such confidence and shared exactly what we needed to start. I am so grateful for their kindness and patience with us!
So, first I will share all of the step by step instructions and then at the end give you my honest opinion about our cabinets and if I would do it again.
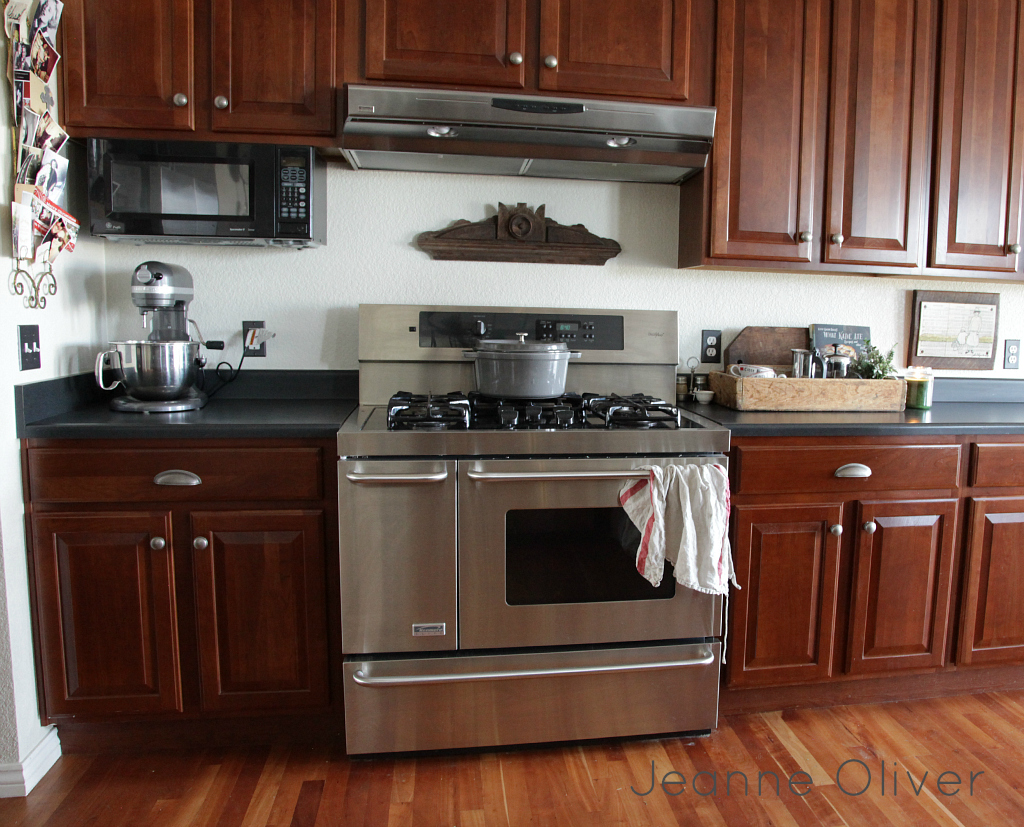
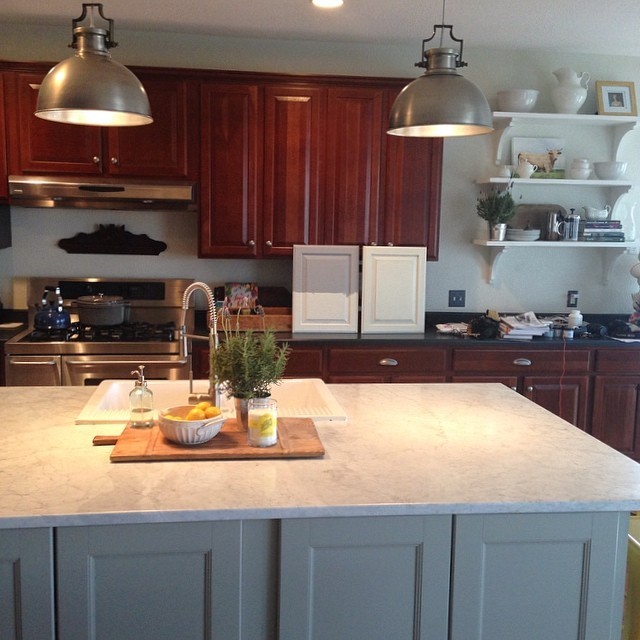
Trying to figure out what colors to go with.
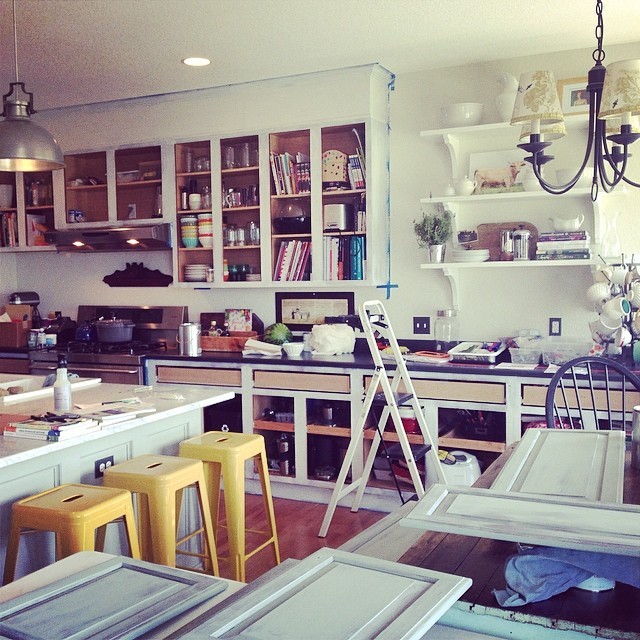
(Sorry for the dark photos but most photos were just on my phone. Without these I wouldn't have taken many progress photos.)
Step One:
Wipe down all of the cabinets using Krud Ktter. This is to make sure you don't have grease and oils on the cabinets before you paint. Don't skip this step. I did this while they were still on the hinges and hanging to make it easier.
Step Two:
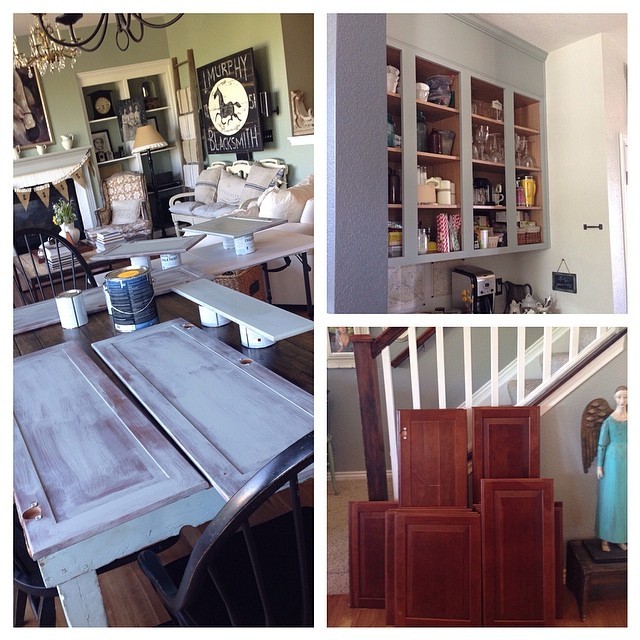
Take all of the doors and hardware off the cabinets. Make sure you are careful in how you organize and save the hardware to make it easier when it is time to put it all back together.
Step Three:
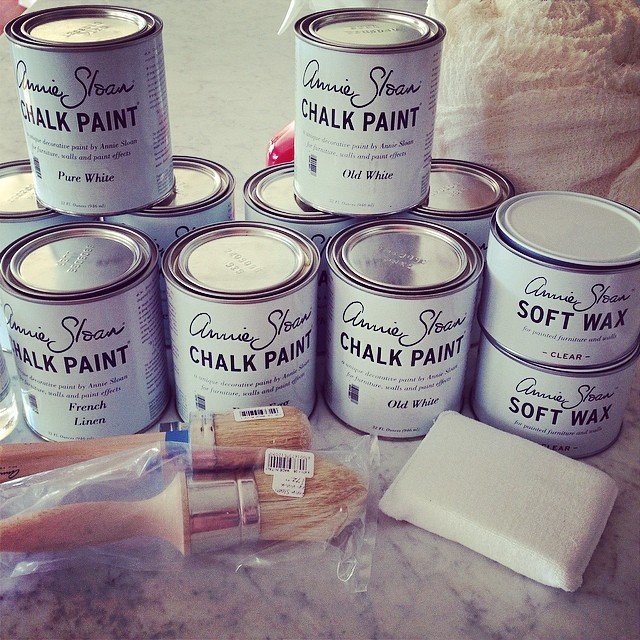
I bought the two sizes of ASCP paint brushes and I am glad I did. I ended up mostly using the smaller one though. Before you start I would recommend flipping through the brush a few times to get rid of loose bristles. Make sure you shake the can well (in our case we mixed one part Old White with one part Pure White). You may not believe me until you do this but the best thing to do at this point is to just dive in. The paint is forgiving and even though the first coat may have you freaking out…the second coat will make you start seeing where this project is going. We started with the cabinets (Who am I kidding? I started with the cabinets) and did the doors last.
I waited until each coat was dry before I added another coat. I ended up doing three coats to everything and I think I should have done four. Without our deadline I know I would have done that. I was so sick and tired of painting and I just wanted it to be done. Don't do this. Don't skimp during the process because you will regret it later.
Step Four:
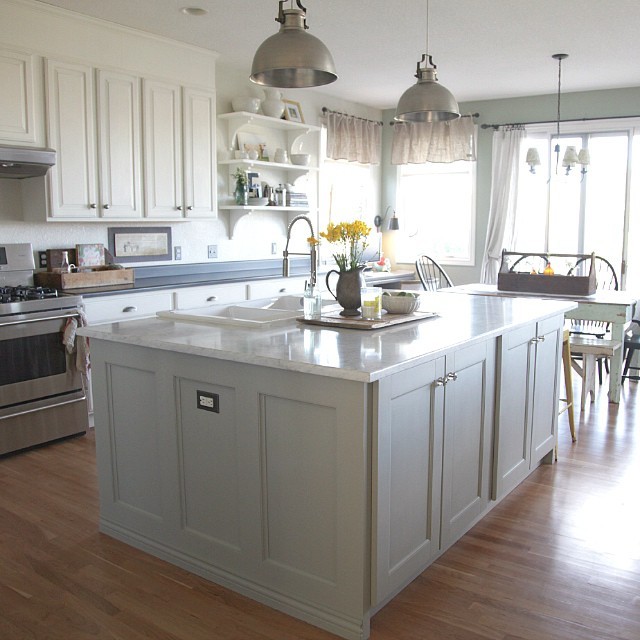
Once your surface is painted you can choose to age the wood a bit with 120 grit sandpaper. I wasn't sure if I would do this or not but because of the shape of our cabinets, it actually looked good. Keep in mind that we have three kids and they were going to do it anyways with daily use and it makes the new marks just look like part of the charm.
I used the 120 grit sandpaper on the edges only and never on a flat surface.
Step Five:
At this point, we put the whole kitchen back together before I waxed all of the cabinets and doors. I think it made the process easier but that is a personal preference. We used the ASCP clear wax and I LOVED it! I have used it on so many other things since (including my art). To apply the wax I recommend working in small sections (2 ft x 2 ft sections). I also recommend purchasing the wax brush because it is just so nice and makes the process easier. You dip the tip of the brush into the clear wax (dark wax too if that is your thing) and in circular motions you get into all of the nooks and crannies of your piece. You then take rymplecloth (cheesecloth) and wipe the excess wax off. Your cabinets and doors should not be gooped with wax. This is a sealer and you want to treat it as such. Using the wax is gorgeous! It not only seals your cabinets but also gives is an awesome matte appearance. After 24 hours you can add a second coat. I have to be honest that we still have to add our second coat (more about that later).
Step Six:
Buff the wax if you want a sheen.
Those are the nuts and bolts and now to the raw truth about the whole process, what we think as a family and would I do it again.
The process is the biggest pain in the butt! Serious! So much work and it is easy to start to rush things because you just WANT TO BE DONE. I have heard people say that they just broke it down over months to make it not as bad. No way! I wanted this done and I wanted my kitchen back together. That is so not my style. That being said…I should have done that forth coat. It is not something that anyone else has commented on and my husband doesn't know what I am talking about but I see it. After 10 months I have to tell you that except for the cabinets where the garbage and recycle cans are…they have held up AWESOME. I have some touching up to do on a few cabinets but not anything that will take me too long. To do a touch up after you waxed just use the ASCP mineral spirits to take up the wax, touch up, let dry, re-wax. Not too tough. I am planning on doing the touch up within the next few months and also finally get that second coat of wax on the whole thing.
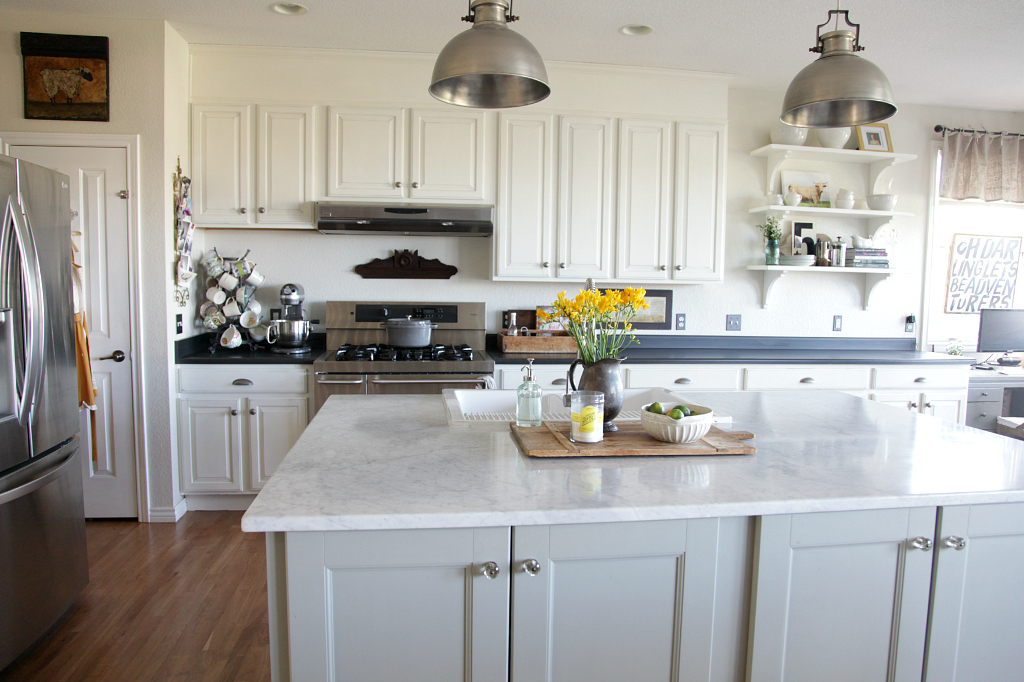
Would I do it again? In a heartbeat! It transformed our kitchen! Our home is so much brighter and now our whole house flows better. It was hard to convince my husband to paint over our expensive cherry. Keep in mind that we built this home and we both still remember how much of an upgrade the cherry cabinets were. If we ever get sick of the paint then you can strip them and do something different. It is just paint. Serious. Live a little!
I would be more than happy to answer any of your questions.
If you are interested in more posts about our kitchen remodel (and we still aren't finished)…
Ikea Hack: How We Built our Kitchen Island
Kitchen Remodel Before and After
My Thoughts on Our Marble Counter Tops
Adding Open Shelving
Ripping out the built-in desk
Living Room Makeover
Annie Sloan Kitchen Cabinets in Country Grey
Source: https://jeanneoliver.com/step-step-kitchen-cabinet-painting-annie-sloan-chalk-paint/